Creating AI videos with the same character in multiple scenes used to be difficult. Every time you generated a new image or video, the character changed completely. Lip-sync, background sound, camera movement, and editing also required extra work.
Now, AI tools make the process much easier.
In this guide, you’ll learn how to:
- Keep the same character in every scene
- Create realistic AI images
- Generate automatic lip-sync videos
- Add background music and camera movement automatically
- Create long-form or short-form videos using only a mobile phone
You don’t need advanced editing skills, expensive software, or complicated timelines.
Why This Method Is Useful
Most beginners struggle with:
- Character consistency
- Manual lip-sync editing
- Adding background music
- Camera angle setup
- Complex video timelines
- Expensive AI tools
This workflow solves those problems using simple AI tools and prompts.
The best part is that you can do everything directly from your phone.
Step 1: Generate Your Character Prompt with ChatGPT

First, install the ChatGPT app from the Google Play Store or visit the official website.
urlChatGPT Official Websitehttps://chatgpt.com
Think about the type of video you want to create.
Example idea:
A Pakistani girl reporting from a busy market while interviewing people.
Example prompt:
“A beautiful Pakistani girl reporting in a commercial market while holding a microphone. Realistic cinematic style.”
ChatGPT will generate a detailed AI image prompt for you.
Step 2: Create Realistic AI Images
Now open:
urlWhisk AIhttps://labs.google/fx/tools/whisk
What to Do
- Sign in with your Gmail account
- Open the image generation tool
- Paste the prompt generated by ChatGPT
- Select your aspect ratio:
- 16:9 for YouTube videos
- 9:16 for TikTok and YouTube Shorts
- 1:1 for Instagram posts
- Generate the images
The AI will create multiple realistic character images.
If you don’t like the first results, generate more variations until you find the perfect character.
Download the image you like most.
Step 3: Keep the Same Character in Different Scenes

This is the most important step.
Normally, AI changes the face and appearance in every new image. To keep the same character:
- Return to ChatGPT
- Ask for another scene prompt
Example:
“The same Pakistani reporter interviewing young couples in a shopping mall.”
- Upload the original character image as a reference
- Generate the new scene using the same character reference
Now the AI keeps your character consistent while changing the background, people, and environment.
You can repeat this process for unlimited scenes.
Examples:
- Market interviews
- Street reporting
- Café scenes
- Travel vlogs
- News-style content
- Comedy videos
Step 4: Convert Images into AI Videos
Now it’s time to create the actual video.
Open:
urlGoogle Flow Labshttps://labs.google/fx/tools/flow
Setup Process
- Sign in with your Gmail account
- Accept the required permissions
- Create a new project
- Select Text to Video
Step 5: Generate a Video Prompt Using ChatGPT
Now go back to ChatGPT.
Ask ChatGPT to:
“Convert my attached image into a JSON video prompt for VO3.”
ChatGPT will generate a structured JSON prompt.
Don’t worry if the code looks complicated.
The JSON format simply helps the AI tool understand:
- Camera movement
- Character actions
- Lip-sync dialogue
- Background atmosphere
- Cinematic effects
Copy the generated JSON prompt.
Step 6: Upload Your Image and Generate the Video
Inside Google Flow:
- Paste the JSON prompt
- Upload your character image
- Select your scene orientation:
- Landscape for YouTube
- Portrait for Shorts/Reels
- Crop and save if needed
- Start the generation process
Now wait for the AI to render your video.
The system automatically handles:
- Lip-sync
- Background music
- Camera angles
- Character movement
- Voice timing
- Cinematic effects
Step 7: Download Your AI Video
Once the rendering is complete:
- Open the download menu
- Choose original quality
- Save the video to your device
You now have a realistic AI-generated talking video.
Example result:
“Hi everyone, I am Heena, and I’m here in the commercial market of Rawalpindi interviewing couples.”
The final output looks surprisingly realistic.
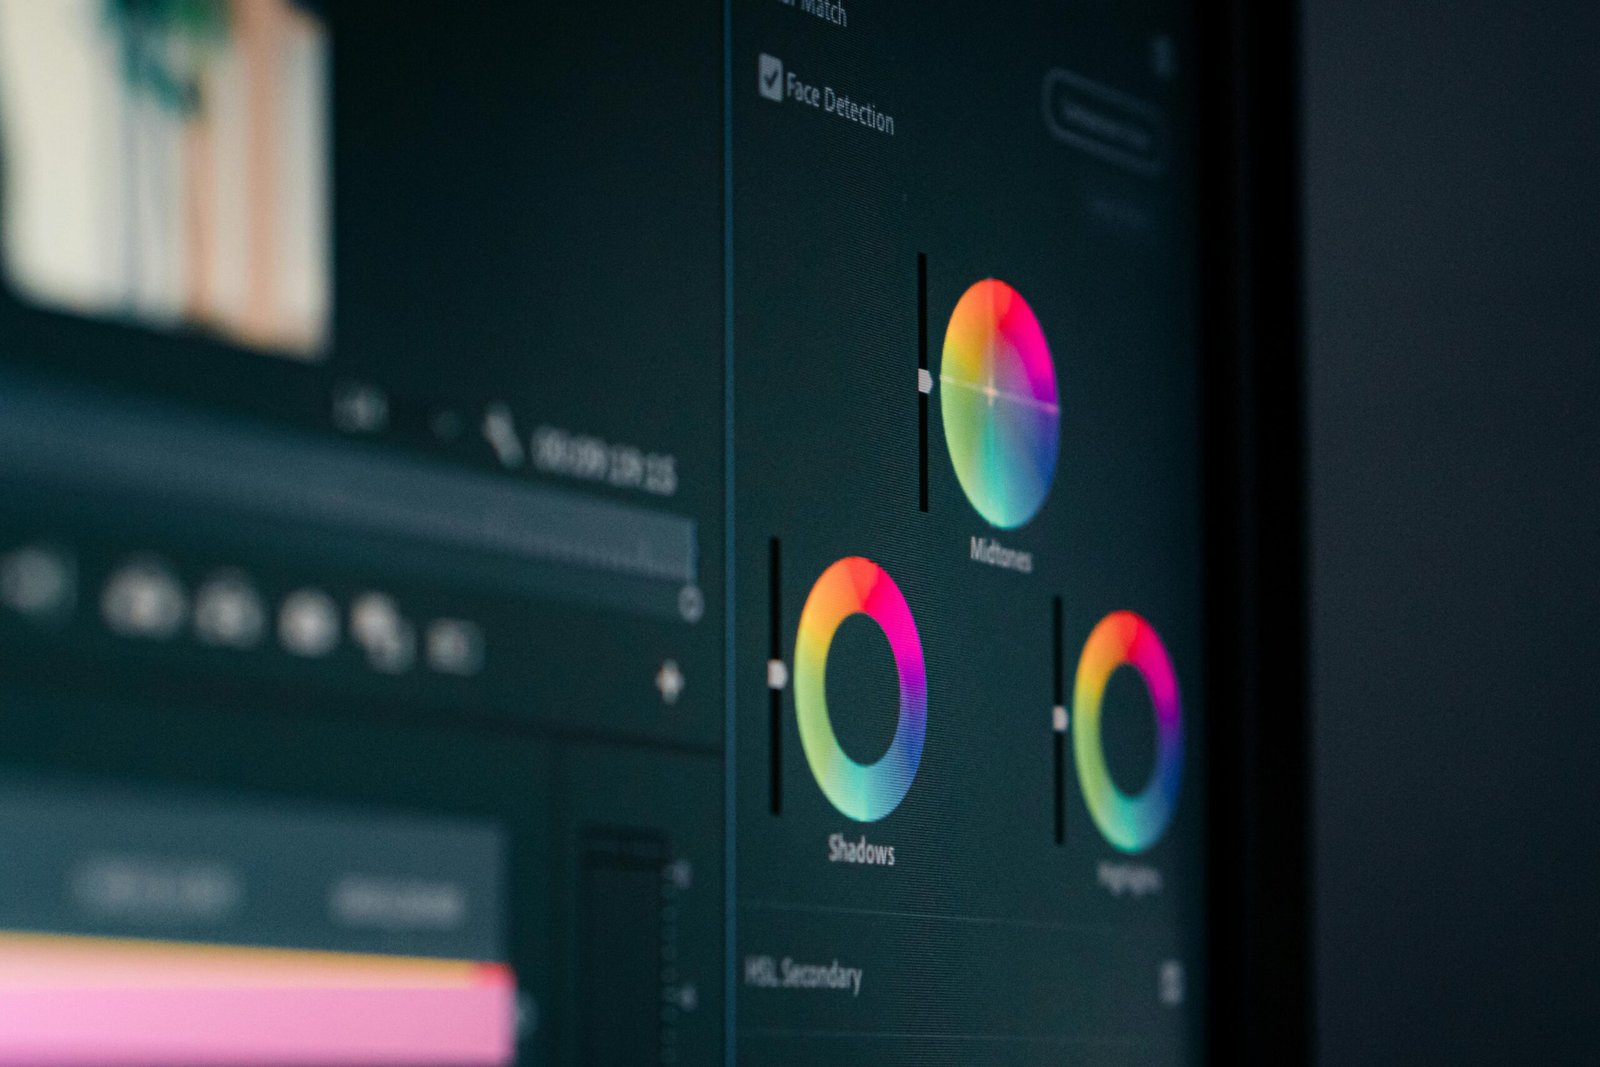
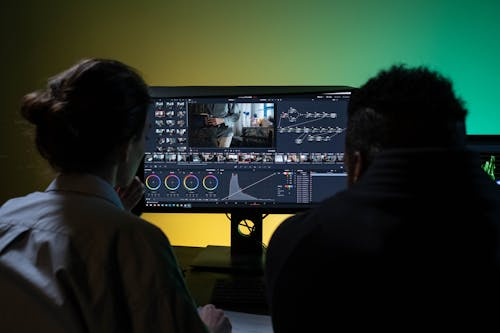
Editing Your Final Video
To create longer content, combine multiple AI scenes together.
You can use editing software such as:
- entity[“software”,”CapCut”,”Video editing app”]
- entity[“software”,”Filmora”,”Video editing software”]
- Any mobile or desktop editor
Use your creativity to:
- Add transitions
- Combine scenes
- Create storytelling videos
- Make YouTube Shorts
- Produce cinematic interviews
Important Tip About AI Credits
Most AI tools provide limited free credits.
For example:
- You may receive around 180 AI credits initially
- One video generation can use approximately 20 credits
To continue practicing, many creators use multiple Gmail accounts.
Final Thoughts
AI video creation is becoming easier every day.
With the right prompts and workflow, you can create:
- Realistic AI influencers
- Interview videos
- Talking characters
- News-style content
- Viral short videos
- Cinematic storytelling clips
The key is to focus on learning valuable skills instead of wasting time on low-value apps or reward systems.
Start experimenting with prompts, scenes, and storytelling ideas, and improve your creativity with every project.